I love notebooks and notepads. Especially new ones. And as a crafter I like to decorate them too. I managed to get hold of some very neat little notebooks recently that were only a £1 each, and the covers were a lovely Kraft brown colour. All plain ready for decorating!
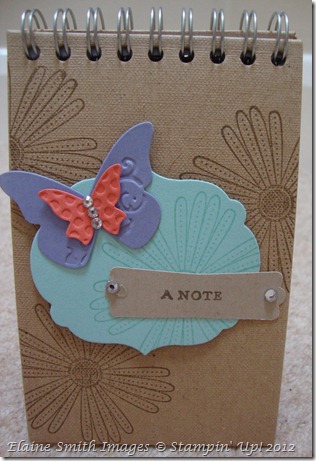
First up has been done with Mixed Bunch.

I stamped the image with Soft Suede directly onto the front of the notepad. Just be careful when doing this as you need to make sure you don’t go too near the wire at the top with your stamp as you won’t get a good image.
I stamped the same image on to a piece of Pool Party in Pool Party ink that I had die cut with our new Labels Framelits. I love them! They are so neat to use and allows you to see where you want to cut which is great for scrapbooking as you can have really interesting cut photo’s.
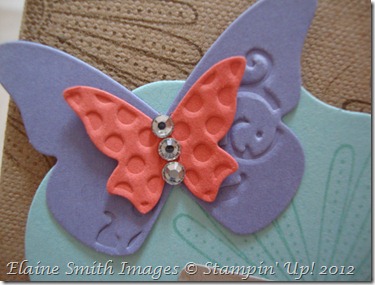
The label framelit was glued to the front of the notepad to which I attached a little butterfly cut from the Butterfly Embosslits dies. I used the Thank You Kindly stamp set to make the “A NOTE” message. The stamp reads “A note of thanks” so I only coloured the “A NOTE” part with my Soft Suede Marker, stamped it onto Crumb Cake and punched it out with the Modern label punch. A few Basic Rhinestones and there you go. A very pretty note pad.
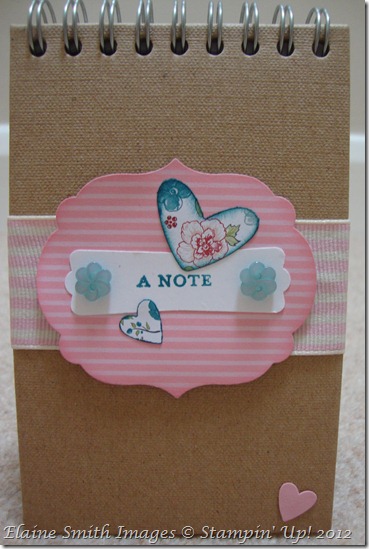
But, I didn’t stop there. I made another.
I wrapped some Pretty in Pink Striped Grosgrain ribbon around the centre but the seam is on the outside not the inside. It is hidden by the Labels Framelit Die cut on the front.
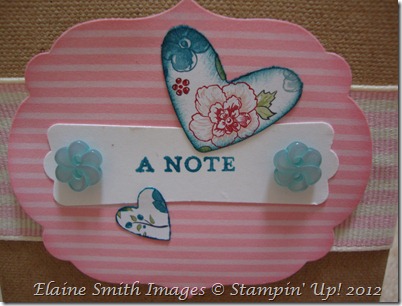
I did the “A NOTE” message the same way as before but in Island Indigo and Whisper White, added a couple of the totally gorgeous Twitterated Buttons and some hearts from the Twitterpated DSP and Pretty in Pink cardstock.
Happy crafting

